After following the previous post, you could deploy a data service created using a legacy database system. Now we will see how to create a gadget that can be utilized for front end monitoring of the system.
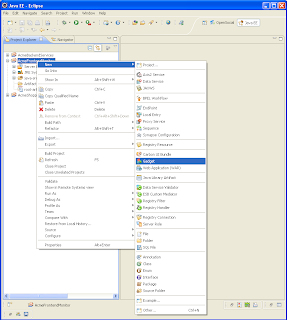
To create a gadget artifact, right click on the AcmeFrontendMonitor project and select Gadget from the menu.
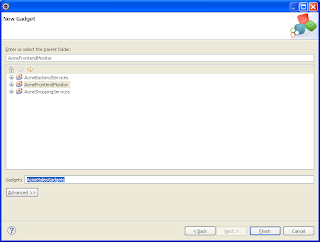
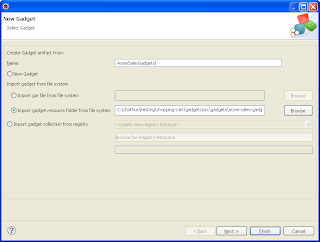
Select the AcmeFrontendMonitor CApp project and click Finish
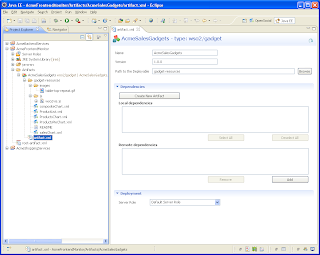
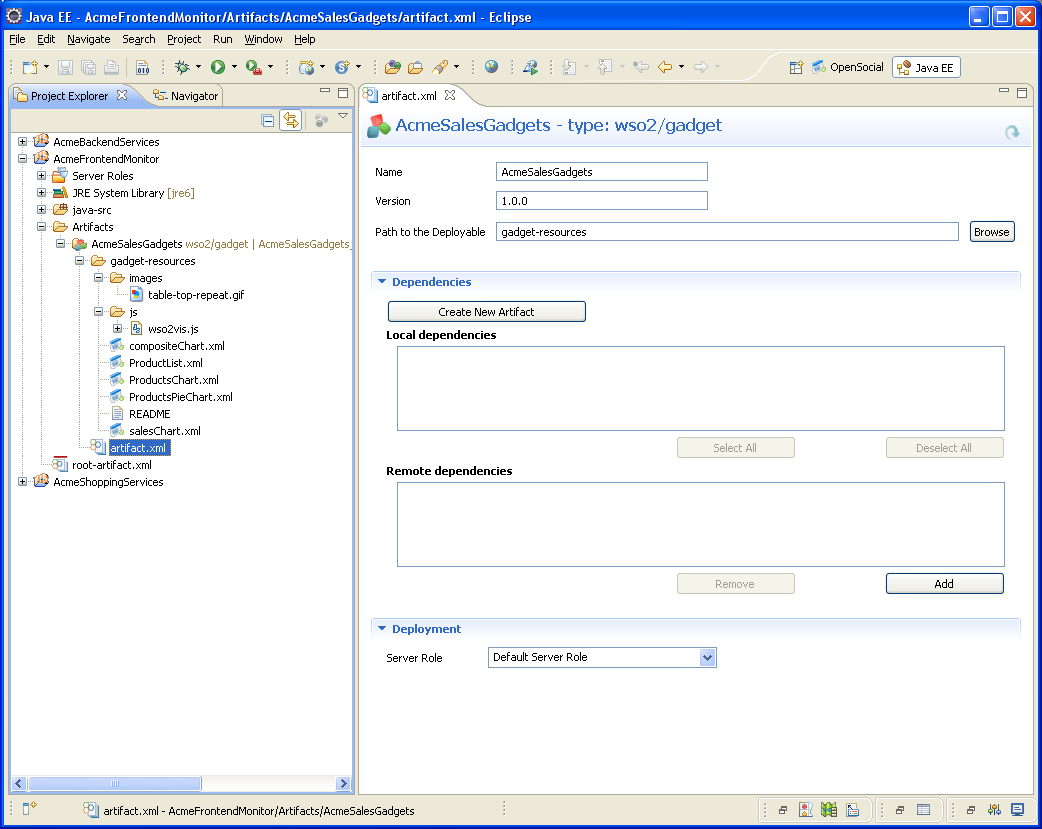
Now you will see new Gadget artifact called AcmeSalesGadgets is created under AcmeFrontendMonitor CApp project.
The installed location will be refered as GS_HOME
Since we need to monitor the database status via gadgets, it is obvious that data service too should be available at the monitoring time. To achieve this real time behaviour we need to make the GS available in another port different to the port that DSS runs on.
For that, go to GS_HOME/repository/conf and open mgt-transports.xml and change http and https ports to 9768 and 9448 respectively. Save the changes and start the gadget server.
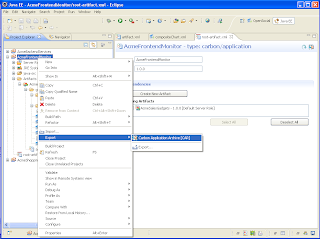
To export AcmeFrontendMonitor, right click and select Carbon Application Archive [CAR] from the Export menu.
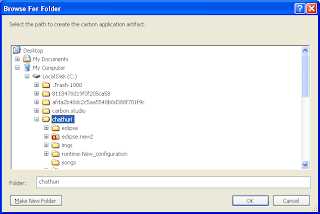
Specify the location to save the .car file.
Now you are done with creating the .car file which is ready to deploy in GS.
Start up the GS. Go to Management console. Navigate to Advanced --> Applications --> Add.
There you give the path to the .car file that you created just now. Hit Upload.
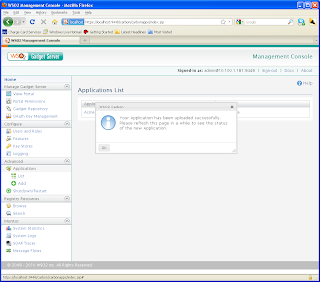
If upload is success, you will get a pop up as follows
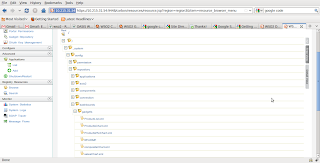
* Go to Registry Resources --> Browse. * From the tree, go to /_system/config/repository/dashboards/gadgets
* There you will see all the gadget xml files that we added from shopping cart sample.
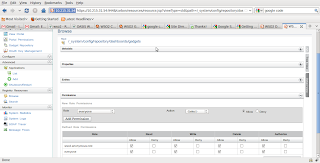
* In that directory tree, click on gadgets and in the wizard that opens, set the permissions to wso2.anonymous.role as shown below.
* Go to Manage Gadget Server --> Gadget Repository
* In the wizard, click on Add New Gadget
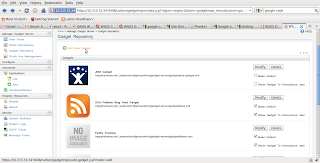
* Give the Gadget Name and URL and click on Add Gadget
eg: Say you want to host the Product List Gadget. For the URL you should give the path where the respective gadget xml is stored in the Registry Resource. Please note that the URL should be specified with /registry/resource as follows
Product List
/registry/resource/_system/config/repository/dashboards/gadgets/ProductList.xml
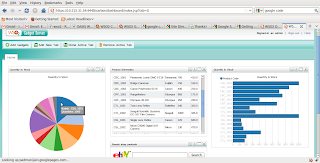
* Go to Manage Gadget Server --> View Portal and click on Add Gadgets. Search for the newly added gadget and click on Add It button.

* Then in the portal you will see your gadget appears.
* Likewise add all the gadgets.
- Step 1
To create a gadget artifact, right click on the AcmeFrontendMonitor project and select Gadget from the menu.

- Step 2

Select the AcmeFrontendMonitor CApp project and click Finish

Now you will see new Gadget artifact called AcmeSalesGadgets is created under AcmeFrontendMonitor CApp project.
- Step 3
The installed location will be refered as GS_HOME
Since we need to monitor the database status via gadgets, it is obvious that data service too should be available at the monitoring time. To achieve this real time behaviour we need to make the GS available in another port different to the port that DSS runs on.
For that, go to GS_HOME/repository/conf and open mgt-transports.xml and change http and https ports to 9768 and 9448 respectively. Save the changes and start the gadget server.
- Step 4
To export AcmeFrontendMonitor, right click and select Carbon Application Archive [CAR] from the Export menu.

Specify the location to save the .car file.

- Step 5
Now you are done with creating the .car file which is ready to deploy in GS.
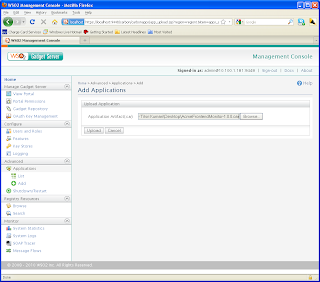
Start up the GS. Go to Management console. Navigate to Advanced --> Applications --> Add.
There you give the path to the .car file that you created just now. Hit Upload.

If upload is success, you will get a pop up as follows

- Step 6
* Go to Registry Resources --> Browse. * From the tree, go to /_system/config/repository/dashboards/gadgets
* There you will see all the gadget xml files that we added from shopping cart sample.

* In that directory tree, click on gadgets and in the wizard that opens, set the permissions to wso2.anonymous.role as shown below.

* Go to Manage Gadget Server --> Gadget Repository
* In the wizard, click on Add New Gadget

* Give the Gadget Name and URL and click on Add Gadget
eg: Say you want to host the Product List Gadget. For the URL you should give the path where the respective gadget xml is stored in the Registry Resource. Please note that the URL should be specified with /registry/resource as follows
Product List
/registry/resource/_system/config/repository/dashboards/gadgets/ProductList.xml
* Go to Manage Gadget Server --> View Portal and click on Add Gadgets. Search for the newly added gadget and click on Add It button.

* Then in the portal you will see your gadget appears.
* Likewise add all the gadgets.

No comments:
Post a Comment